Tiny House Closet Nursery - The Garden Shed Wardrobe
When Adam and I decided to have a child, we knew we wanted to stay here in our tiny home. As we already share the space with our two dogs and my small business, we knew it would be a challenge to add a nursery to the mix, but we were so excited to make it work. Given our budget, we basically had two choices when tackling the nursery project in our tiny house:
Leave nearly everything as-is, downsize our belongings in existing storage spaces to make room for baby care necessities, and rely solely on mobile/rolling nursery components.
Create a dedicated nursery within an existing space by downsizing and relocating our other belongings from that area.
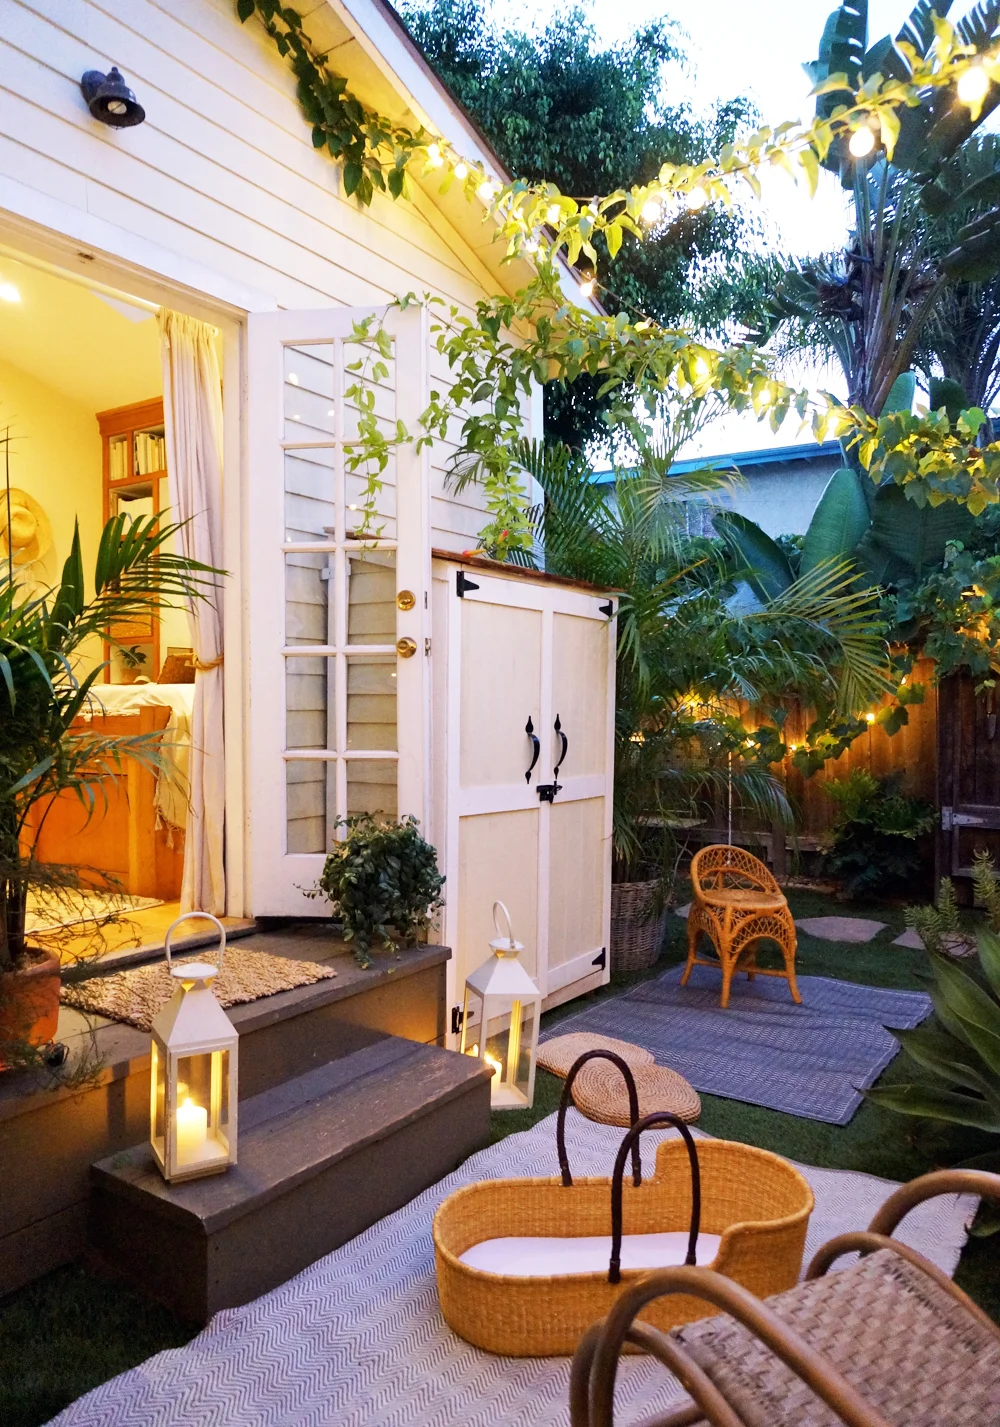
We went with option two, because thanks to the sunny, dry SoCal climate, we knew we could get creative with indoor/outdoor lifestyle and storage solutions. (If we lived somewhere that gets a a fair amount of rain or any snow, we would've stuck with option one.) We decided to convert our bedroom closet into the nursery, by downsizing and relocating part of our wardrobe to a 2'x4' cedar garden shed from The Home Depot.
It's important to note that it VERY RARELY rains in Los Angeles, and the weather usually hovers somewhere around the 50°s to the 70°s. As such, our patio furniture stays outside and uncovered year-round, while select garden decor and accessories come indoors in the unusual event of rain. We've been using our outdoor spaces in this manner for over 5 years now, which gave us the confidence that we could pull off an unusual outdoor closet solution. Here’s how we did it.
DOWNSIZING
While storage solutions are obviously important in homes of all sizes, the clearest path to living simply is to not own too many things. While we extended our usable storage space at the Cottage via our new 2x4’ shed, Adam and I were able to make the wardrobe relocation project work by getting rid of nearly 1/2 of our clothing. Giving away belongings is second nature to us now, but it definitely took some practice at the beginning. For those of you struggling to let go with your unnecessary belongings, I recommend exploring The Life-Changing Magic of Tidying Up by Marie Kondo. (Try reading the digital version rather than the print edition and VOILA! You’re already on the path to reducing your physical possessions!)
We removed everything from our shared closet, and created four piles:
The Giveaway Stack - I keep a folding bin from The Home Depot’s décor brand, Home Decorator’s Collection, in the laundry unit we share with our neighbor. Adam and I place our donation items in the bin weekly, and then drop its contents off at Goodwill and/or our local community housing organization about twice a month. We filled this bin (along with several other bags,) when cleaning out our closet for the nursery. I found that the start of my third trimester was the ideal time to tackle this undertaking. I hadn’t been able to wear my “regular” clothes for months due to the baby bump. It was therefore fairly easy to assess what I missed and needed, vs what I did not.
Infrequently Used but Useful Clothing - We put our winter/travel coats, scarves and other such infrequently used but handy clothing in two plastic, lidded storage bins. (The bins are now stowed at the bottom of the shed, beneath our hanging clothes.)
Weekly Wear to Hang - I had about 18”w of hanging clothes (dresses, tunics, etc) that needed to remain on hangers. We suspended those in a cedar wardrobe from Home Decorator’s Collection within the new shed, alongside Adam’s work shirts and sweaters. (Photo below.)
Daily Wear to Fold - I eliminated everything I didn’t need, and fit all of my daily casual dresses, tops and pants into one of the two trundle-drawers built into our bed. (Photo below.) The neighboring trundle was, and still is, our hamper. Adam bested me by downsizing his clothes even further— he managed to find a home of the rest of his pieces in the drawers that are part of the bed frame, beneath the bookshelves on his side of the bed.
We now keep all of our shoes in the built-in cubbies beneath the couch. (Photo below.) Socks, swimwear and underwear fit into the drawers that are part of the bed frame, beneath the bookshelves on my side of the bed
The fun (yet tricky) part of this project was finding a shed that was juuuuuust riiiiight for our little garden. We didn’t want to build on to the house— we just needed a simple shelter that was about 2’ deep by 4’ wide by 6’ high. Luckily we found this shed from The Home Depot, which was the perfect size for our needs:
We carefully weather-proofed the shed’s seams, and painted the exterior to match the Cottage with contrasting Behr Paint colors on the panels and trim. Next, we installed a custom-cut dowel rod for our hangers, and selected this cedar wardrobe in which to stash our hanging “weekly wear.” Lastly, we secured the shed to the side of the house for safety, in case of earthquakes.
The entire process took about a day, from unpacking the shed at the start, to hanging up our belts and hats at the finish. We added some accessories— such as this outdoor rug— to make this part of the garden feel more like a room, and to tie it into the nursery’s outdoor lounge area.
The shed is only five steps from the bedroom closet, so it’s no inconvenience. Adam and I joke that our clothes are probably actually better protected now that they’re living outside in a sealed shed and garment bag, seeing as how we keep our house wide open 10 months out of the year. Our clothes have pretty much been living an indoor/outdoor lifestyle for 5 years anyway!
I acknowledge that The Home Depot is partnering with me to participate in this nursery makeover project. As a part of the project, I am receiving compensation in the form of products for the purpose of promoting The Home Depot. All expressed opinions and experiences on this blog are my own, and are written in my own words. My post complies with the WOMMA Ethics Code and applicable Federal Trade Commission guidelines.


