Tiny House Closet Nursery - The Heater Cover
We moved into the Cottage over five years ago, and every day since then our vertical wall heater (located in the bedroom) has driven me insane. Not only is it a total eyesore, but it collects dust and dog hair, and needs to be cleaned off regularly. We rarely need a heater in our home, as “winter” in Los Angeles doesn’t really exist. In the past when we’ve used the wall unit, it only seemed to blast hot air to the top of our bedroom, frying our bookshelf, drying out our plants, and leaving the temperature in the rest of the house seemingly unchanged.
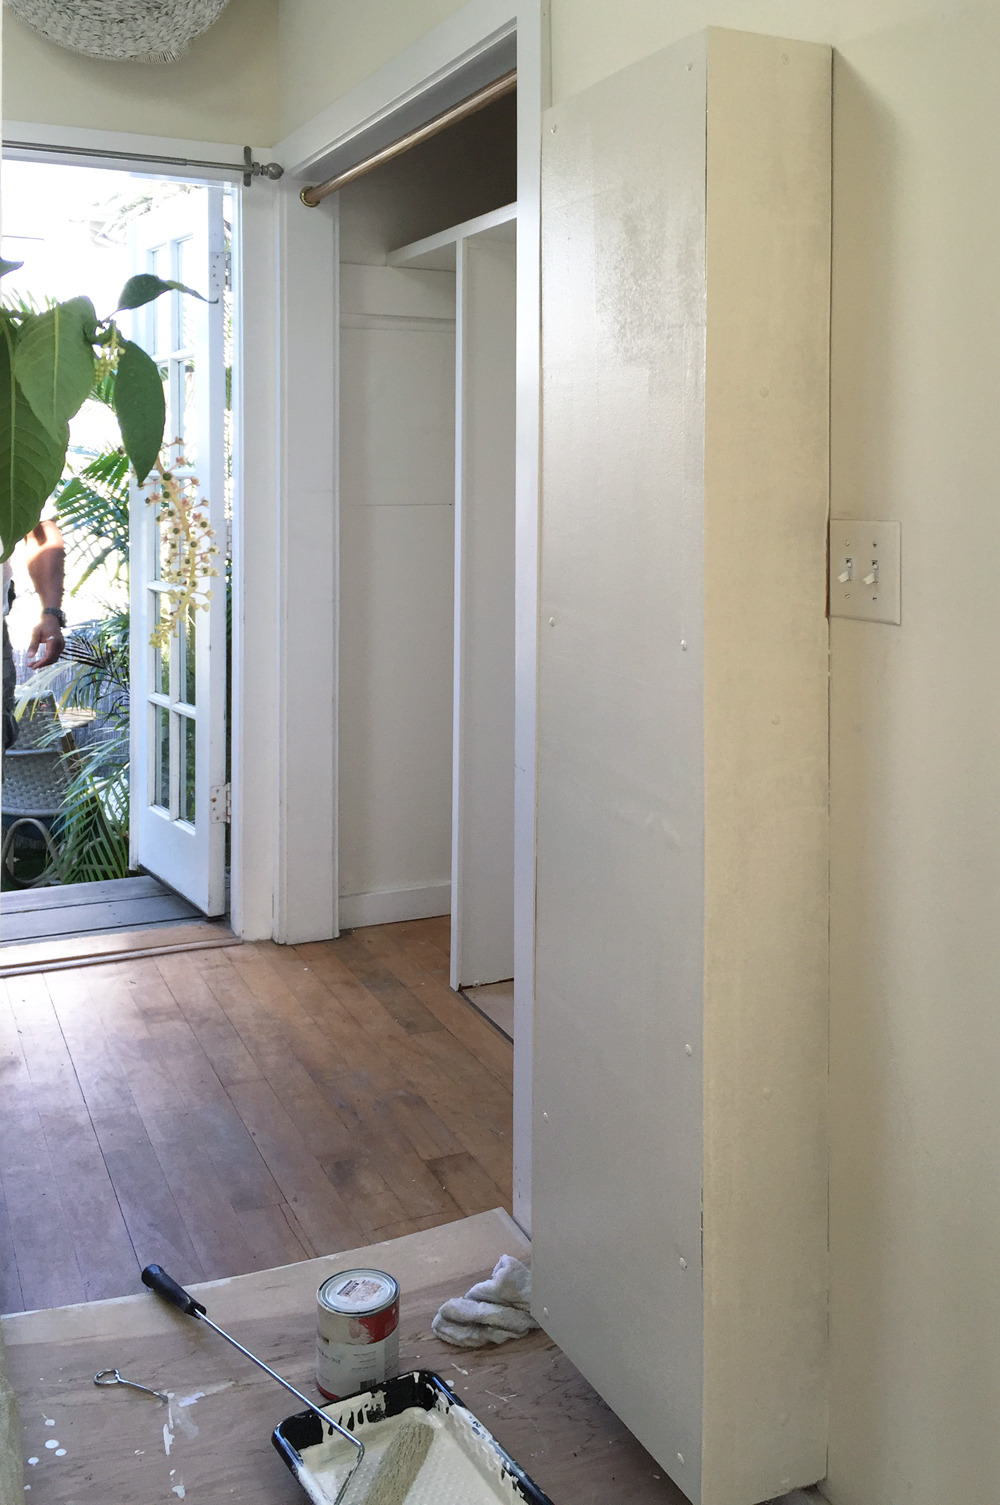
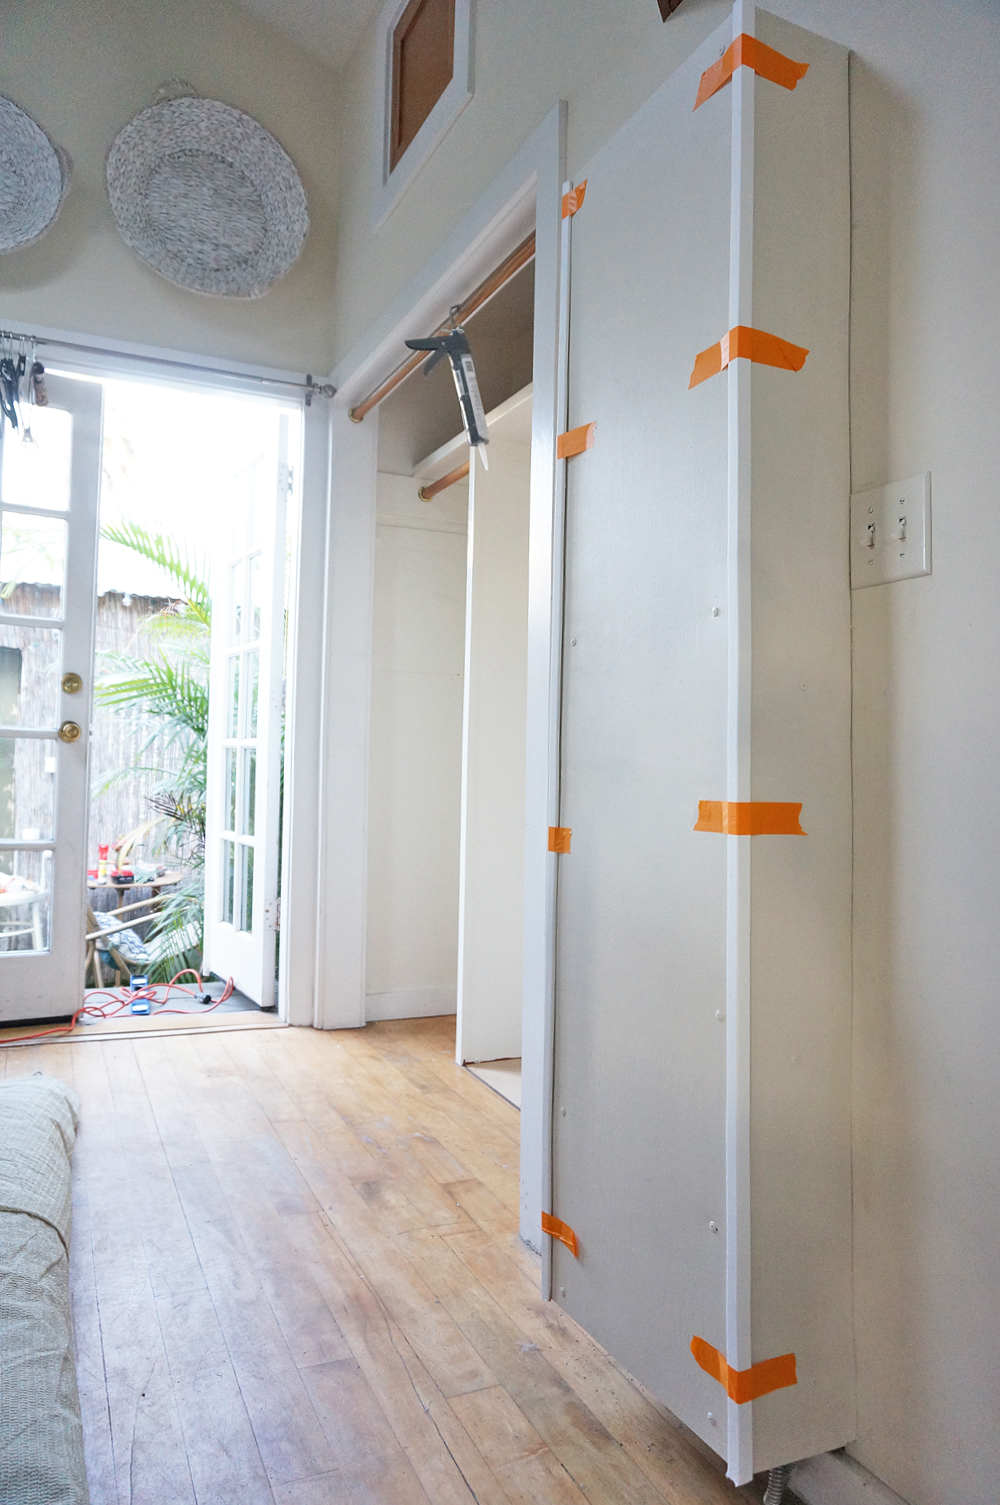
When redoing our bedroom to accommodate the nursery, we didn’t want to remove the unit completely— we’re legally required to have a heating source built into the house anyway. But since the grate is only about a foot from the nursery, I wanted to update the facade so it wouldn’t continue to stab at my eyeballs. Plus the ugly temperature gauge stuck out into the closet, preventing the crib from rolling in and out of its dedicated space, so the little control box had to go. We opted to create a custom heater cover with basic materials that we found and and customized at The Home Depot, which is just down the road from our home next to Adam’s office.
Of course we were very careful to make sure that the heater was completely off and disconnected from the gas before covering it. And we had an electrician visit the house to safely manage the wires beneath the heater and behind the control panel before we sealed everything up.
In order to create the custom cover (which basically acts like a shoebox top over the heater), we really only needed the following items, all of which we got at The Home Depot:
Three custom-cut plywood panels to cover the sides and front of the heater
Decorative and functional molding to join the seams of the panels
Paint (and corresponding paint supplies) for the panels and molding (we chose to match the bedroom walls and trim with Behr paints)
The drill and screws to hold it all together
The whole process of covering, painting and decorating the heater took about three hours. You can see nearly all the steps required via the images above. I can’t believe I waited YEARS to it.
The end result is a simple, smooth surface from which I can now hang wall decor, linens, plants, artwork, and/or lightweight storage pockets. Until the baby starts walking and grabbing things, I’ve opted to hang 2 lightweight mirrors, which help bounce light off the wall and make the room feel more spacious. I also added a 1-pouch magazine rack, where I’ll keep the baby’s daily health log during his first months:
The heater now blends perfectly and purposefully into the nursery, and I love it. During the brief, mild LA winters, we’ll use a modern, compact, energy-efficient space heater instead of the wall unit to better keep our family of 5 comfortable. Win-win!
I acknowledge that The Home Depot is partnering with me to participate in this nursery makeover project. As a part of the project, I am receiving compensation in the form of products for the purpose of promoting The Home Depot. All expressed opinions and experiences on this blog are my own, and are written in my own words. My post complies with the WOMMA Ethics Code and applicable Federal Trade Commission guidelines.


